A technically solid setup and proper calibration of your studio monitors are your best weapons for achieving the acoustically phenomenal mixing space you’ll love. Your listening environment can color or cloud the sonic perception of your production. In this post, I’ll explain how to optimally position and test your studio monitor setup, and point out methods for controlling other outside factors affecting your production.
Select Your Space
The physical dimensions of your studio space will resonate with certain frequencies and boost harmonically related multiples as sound reflects off of your studio walls. The more variation in the dimensions of your space, the fewer natural resonances you’ll encounter. Tip: avoid cube-shaped rooms as this triples down on coloring a specific frequency.
Position Your Studio Monitors
Aim for a symmetrical distance between your monitors and your sidewalls—this will balance room reflections at the sweet spot. Skewing monitor positions more to one side or the other will impact your ability to pan elements correctly — or worse, the resulting mix may sound off-centered.
Studio monitors placed against a wall will deliver a stronger bass response due to standing waves produced in the lower, longer frequencies. Back-wall bass boosting can obscure critical aspects in your mix's low-end. EQ controls found on the backside of the monitors can be useful here, to help cut the extra bass. Shifting your speakers a foot or two from all walls, freestanding, will provide heightened accuracy in your production’s low-end.
I recommend measuring out the distance between studio monitor placement. A wide placement can create a hole-in-the-middle stereo image, while a narrow placement will produce a weaker stereo sound field that will leave you without a sense for the mix's width—use your ears. Speaking of which, try elevating your studio monitors so that the tweeters will be positioned at an even height with your ears.
Next, you’ll want to angle in your monitors about 60º, forming an equilateral triangle between you and your monitors, with you at center. Near-field studio monitors function optimally in close-placement—about 3 feet from each other, and about 3 feet from you, the engineer. A near-field setup drastically reduces mid-to-high-frequency cone-filtering reflections due to achieving a tight arrangement.
Calibrate Your Monitoring Levels
Calibrating your setup will make welcoming outside guests into your studio a more fluid experience via standardization and shared best practices. Plus, you’ll end up with better mixes with more dynamic range. Here’s how:
Sound engineers recommend producing and mixing at around 80-85 dB SPL. To calibrate your studio to these levels, you’ll first want to grab a pink noise audio file to play over your system. Open up your DAW, drop in your pink noise file and set the master to unity (0dB). When you press play, it’s going to sound like TV static. A -20dB rms pink noise sample is equal to normal conversational levels.
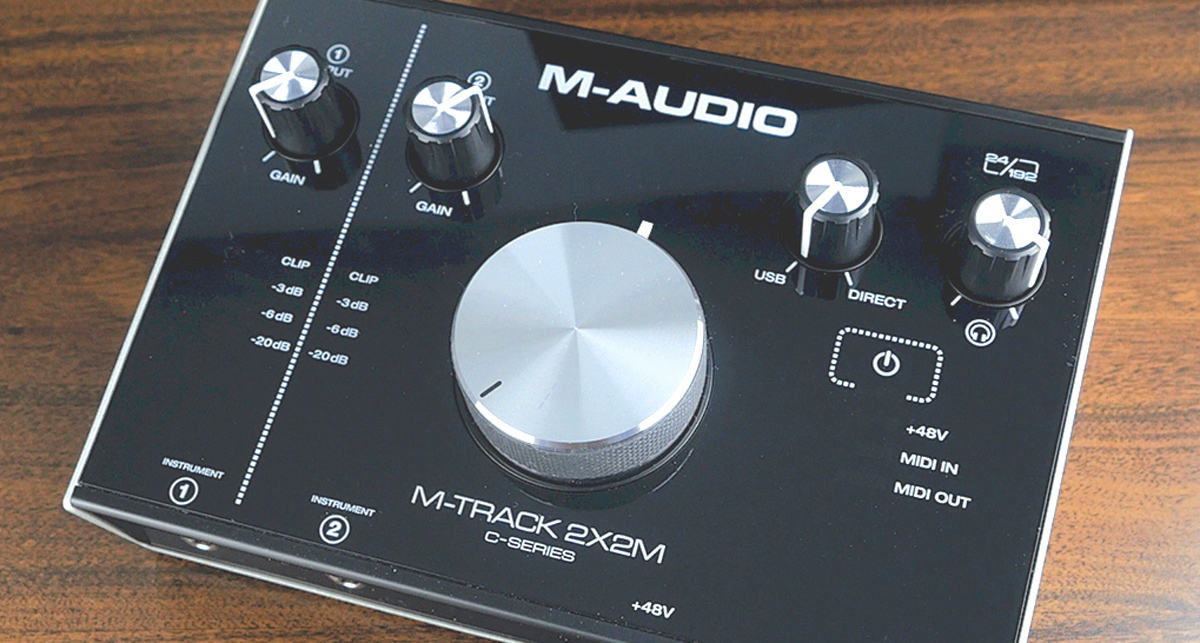
Next, turn your audio interface master volume knob to a mid-way position—this will be your new listening level go-to-position for your freshly calibrated setup. Get an SPL meter app ready (available in iOS and Andriod app stores), and pre-set it to C-weighting with a slow response time. Place the meter app in your listening environment’s sweet-spot, atop the equilateral triangle we created with your monitors—this is your reference point.
Turn down both monitors all the way and make sure no boosting or cutting EQ options on the back of the monitors are enabled. You’re going to calibrate each monitor separately, so hard-pan the pink noise and adjust the volume knob on the back of your first monitor until your SPL meter hits ~80dB at your listening spot. Duplicate this process with audio flowing only from your second speaker, and mark your level on your audio interface, and on the back of each monitor for future reference.

Once you’ve properly calibrated, sounds at 0dBFS in your DAW will be very loud. It’s useful to keep in mind, as described by Fletcher Munson curves, that audio at loud levels naturally boosts the low-end perception. Essentially, your low-end will reach the threshold of audibility and come thumping through, when compared with lower listening levels.
Note: When sound designing, turn down your system from the calibrated levels to reduce ear fatigue.
Acoustic Room Treatment
Acoustic treatments for your music production space are designed to attack different problematic areas within the audio spectrum. The needs will be specific to the size and build materials of your room, as well as what else you’ve got stored there that's causing sound reflection. This topic is so technically rich—it rightfully deserves its own post—plus I’ll show you how to create your own impressive acoustic treatments for less, using the same approved and tested materials as the big brand names.
